Adding Caption to an Image; working with <figure> and <figcaption>
In this tutorial, we're going to upload and insert an image to a Drupal webpage (using IMCE file manager), copy and paste <figure> and <figcaption> hypertext, and finally 'Save and Publish' your new changes to the webpage. We will add some additional information below on some optional tweaks you can make to <img> and <figure>.
Here is a link to the 'TEST' webpage created on the Arts and Sciences website: https://artsandsciences.fsu.edu/test-webpage-inserting-image-captions
Upload and insert an image to Drupal using the IMCE file manager:
- Select the spot on the webpage where you'd like the image to go.
- Let's place our image in the space between the line, "This is some text for this test article. Let's try some things out, like inserting an image." and the next line, "What is Lorem Ipsum?"
- Let's place our image in the space between the line, "This is some text for this test article. Let's try some things out, like inserting an image." and the next line, "What is Lorem Ipsum?"
- Click the 'Insert images using the IMCE File Manager' button from the toolbar.
- Toolbar:
- IMCE button:
- Toolbar:
- Navigate to the location/folder you're storing images for this webpage and click the Upload button.
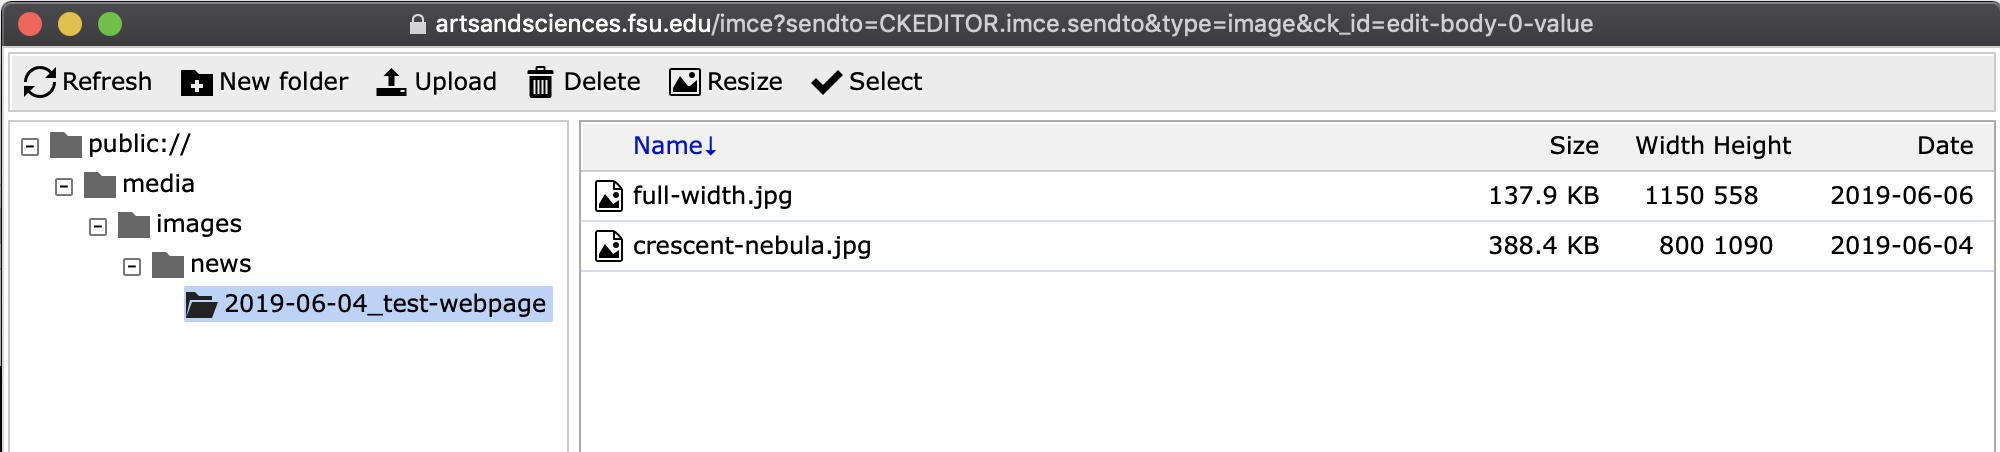
- NOTE: for this demonstration, I'm using the same standard we use for 'News Articles' on the Arts and Sciences main webpage. So, this page is going to be stored here: public://media/images/news/2019-06-04_test-webpage/
- NOTE-2: I created the folder '2019-06-04_test-webpage' and specified that there are NO SPACES so that linking to files is easier within HTML (a similar idea for naming files, No Spaces!!).
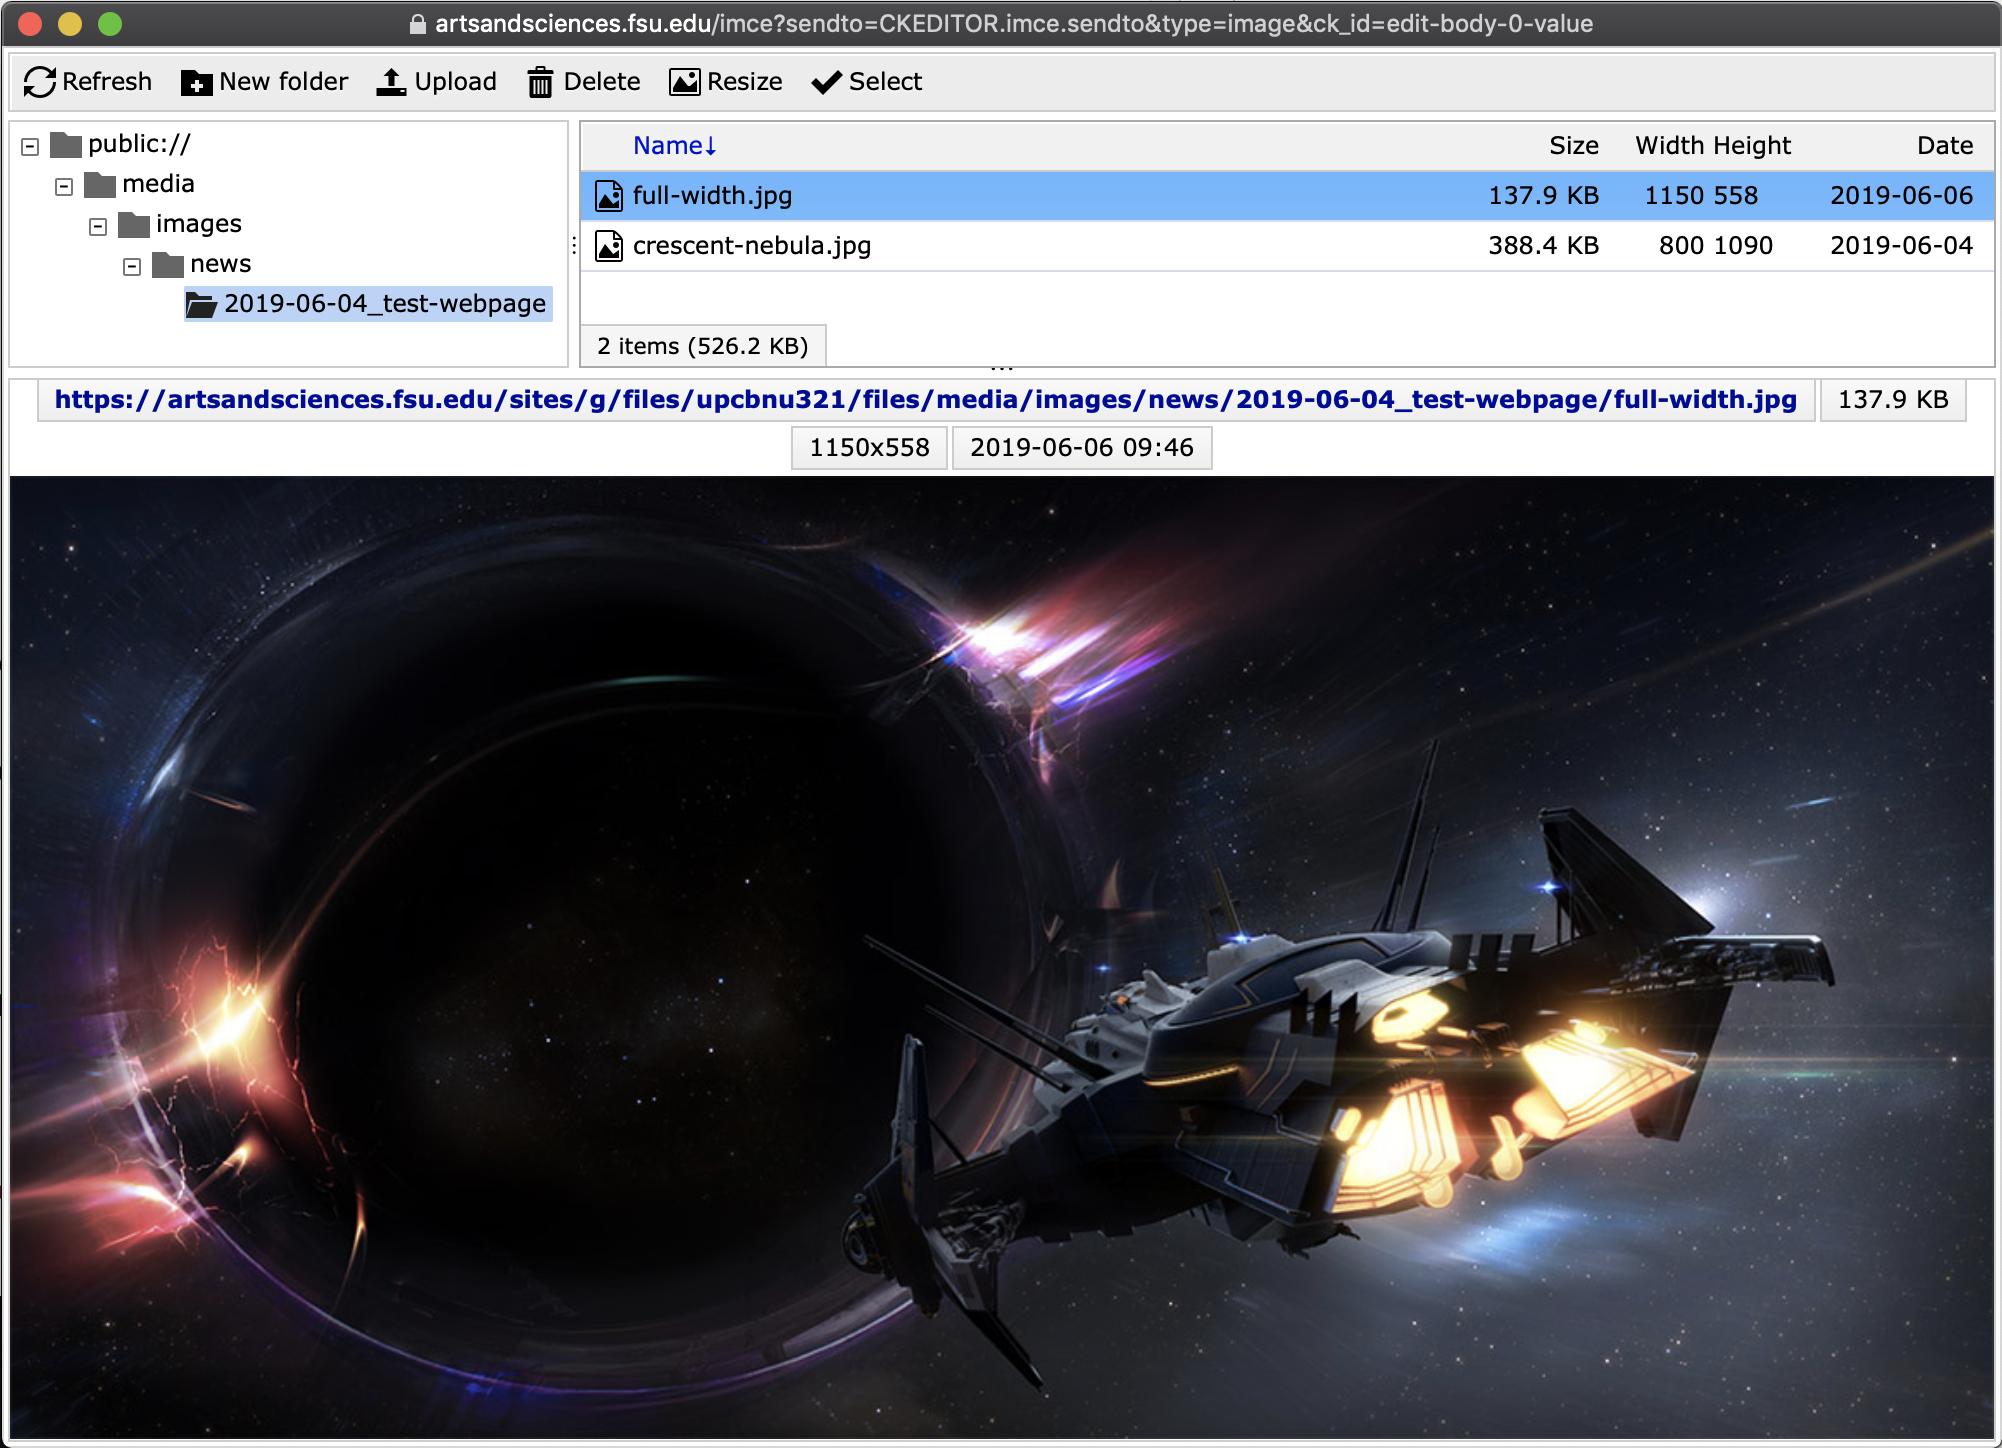
- Click the image you'd like to 'insert' into the page and click the 'Select' button.
- IMCE view when you select an image:
- Select button:
- IMCE view when you select an image:
- You have now uploaded an image and placed it on your webpage.


Copy and paste <figure> and <figcaption> hypertext:
- From here, we are going to work in 'Source' view using some simple HTML.
- Click the 'Source' button on the editor toolbar:
- Toolbar:
- Source button:
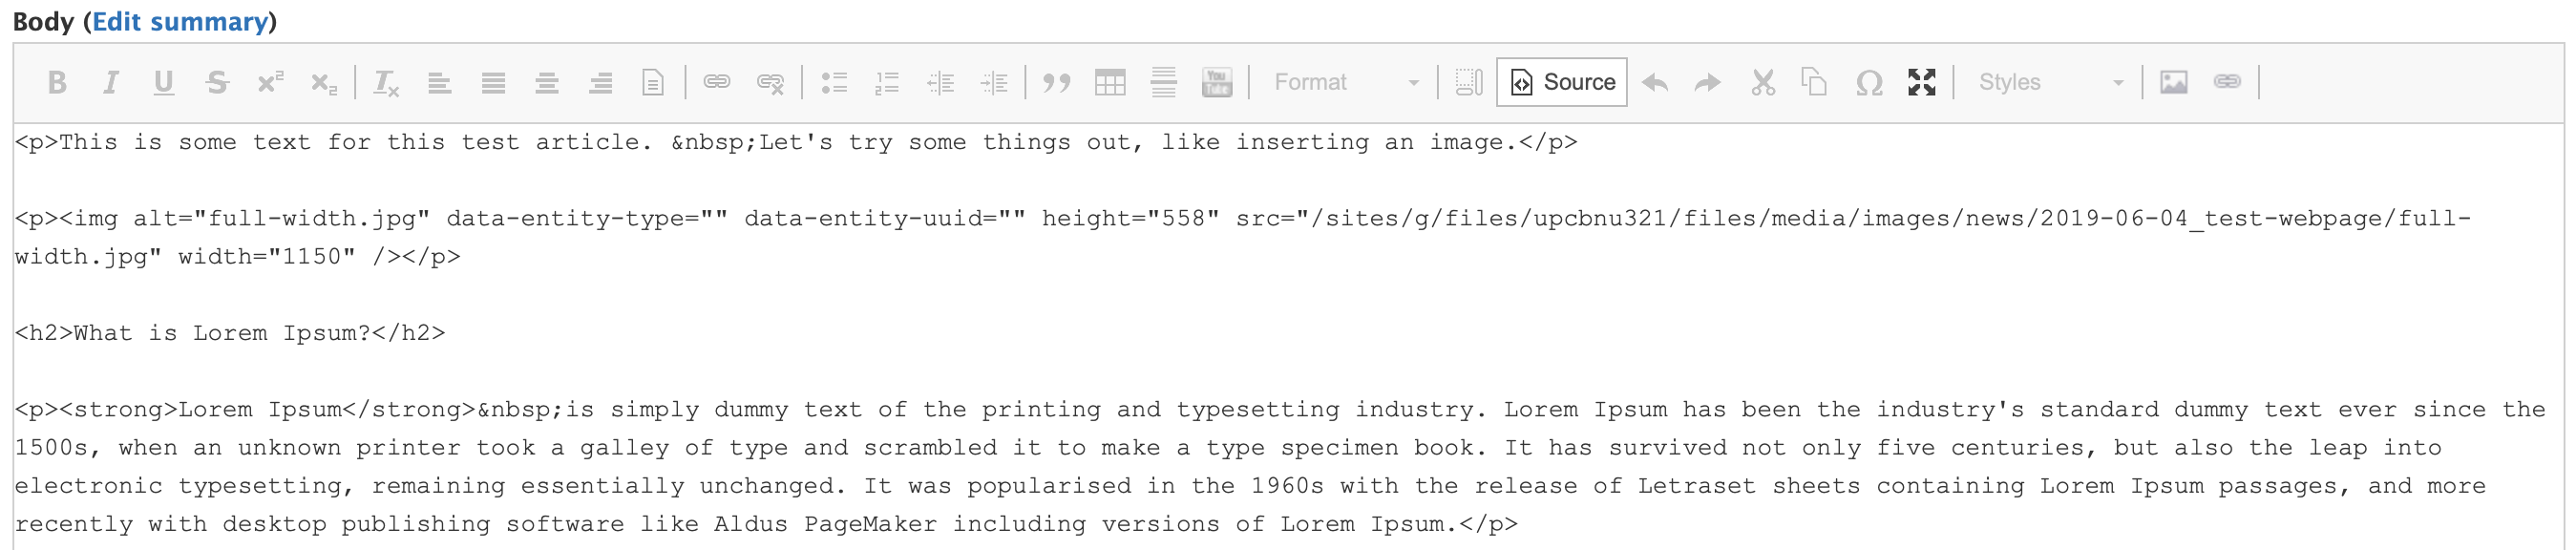
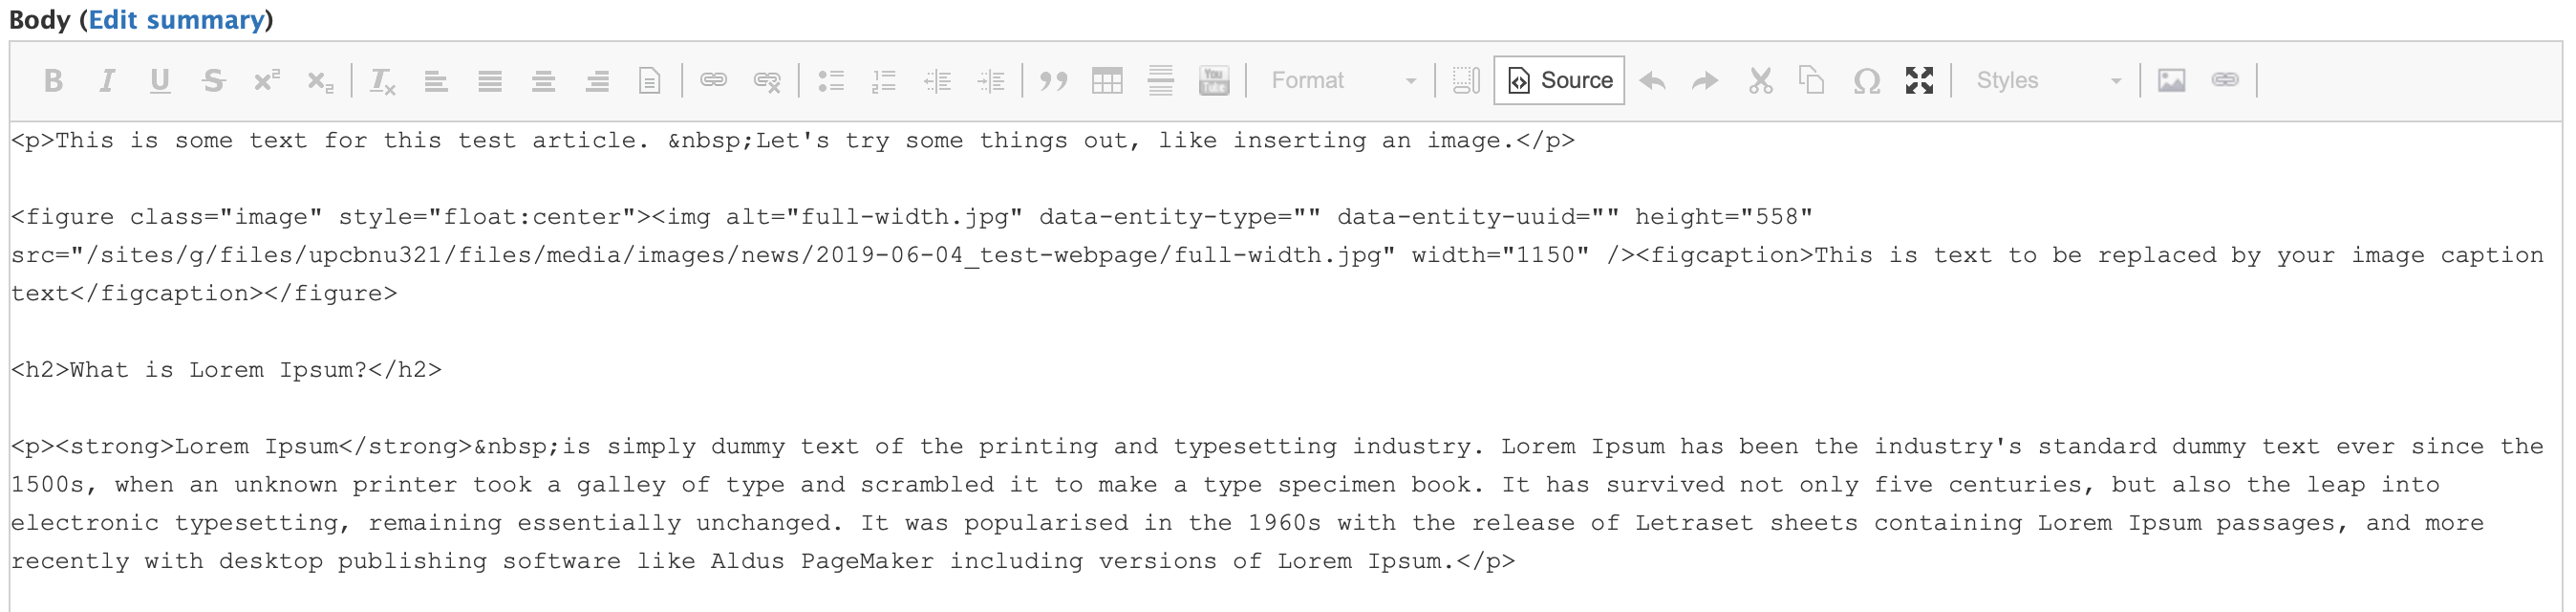
- View of 'Source' from example page:
- Toolbar:
- Now, locate the hypertext for your newly inserted image. Easy to find here as it is the code '<img xxxxxx />' encapsulated in '<p></p>' (<p> is paragraph markup). Here is a direct copy:
- <p><img alt="full-width.jpg" data-entity-type="" data-entity-uuid="" height="558" src="/sites/g/files/upcbnu321/files/media/images/news/2019-06-04_test-webpage/full-width.jpg" width="1150" /></p>
- To begin, delete the '<p>' and '</p>' markup around the '<img xxxxxx />' so your code now looks like this:
- <img alt="full-width.jpg" data-entity-type="" data-entity-uuid="" height="558" src="/sites/g/files/upcbnu321/files/media/images/news/2019-06-04_test-webpage/full-width.jpg" width="1150" />
- Next, we want to copy and paste some code (from this webpage and directly into the Source of the webpage you are working on):
- Copy the following and insert to the left of '<img ':
<figure class="image" style="float:center">
- Close off the <figure> hypertext by pasting the following to the right of '/>':
</figure>
- Now your <img> code should be encapsulated within the <figure> hypertext. Looking like this:
- <figure class="image" style="float:center"><img alt="full-width.jpg" data-entity-type="" data-entity-uuid="" height="558" src="/sites/g/files/upcbnu321/files/media/images/news/2019-06-04_test-webpage/full-width.jpg" width="1150" /></figure>
- NOTE: There are no SPACES between the symbols >< as demonstrated above.
- Next, we need to insert the <figcaption> hypertext below the image, this is where your caption will go!
- Copy the following and insert between '/>' and '</figure>':
<figcaption>This is text to be replaced by your image caption text</figcaption>
- Your final code should look something like this (I've included text and as screenshot, for reference):
- <figure class="image" style="float:center"><img alt="full-width.jpg" data-entity-type="" data-entity-uuid="" height="558" src="/sites/g/files/upcbnu321/files/media/images/news/2019-06-04_test-webpage/full-width.jpg" width="1150" /><figcaption>This is text to be replaced by your image caption text</figcaption></figure>
- Click the 'Source' button from the editor bar and we'll exit the Source view - back to the WYSIWYG editor.
- Source button:
- Back in the WYSIWYG editor:
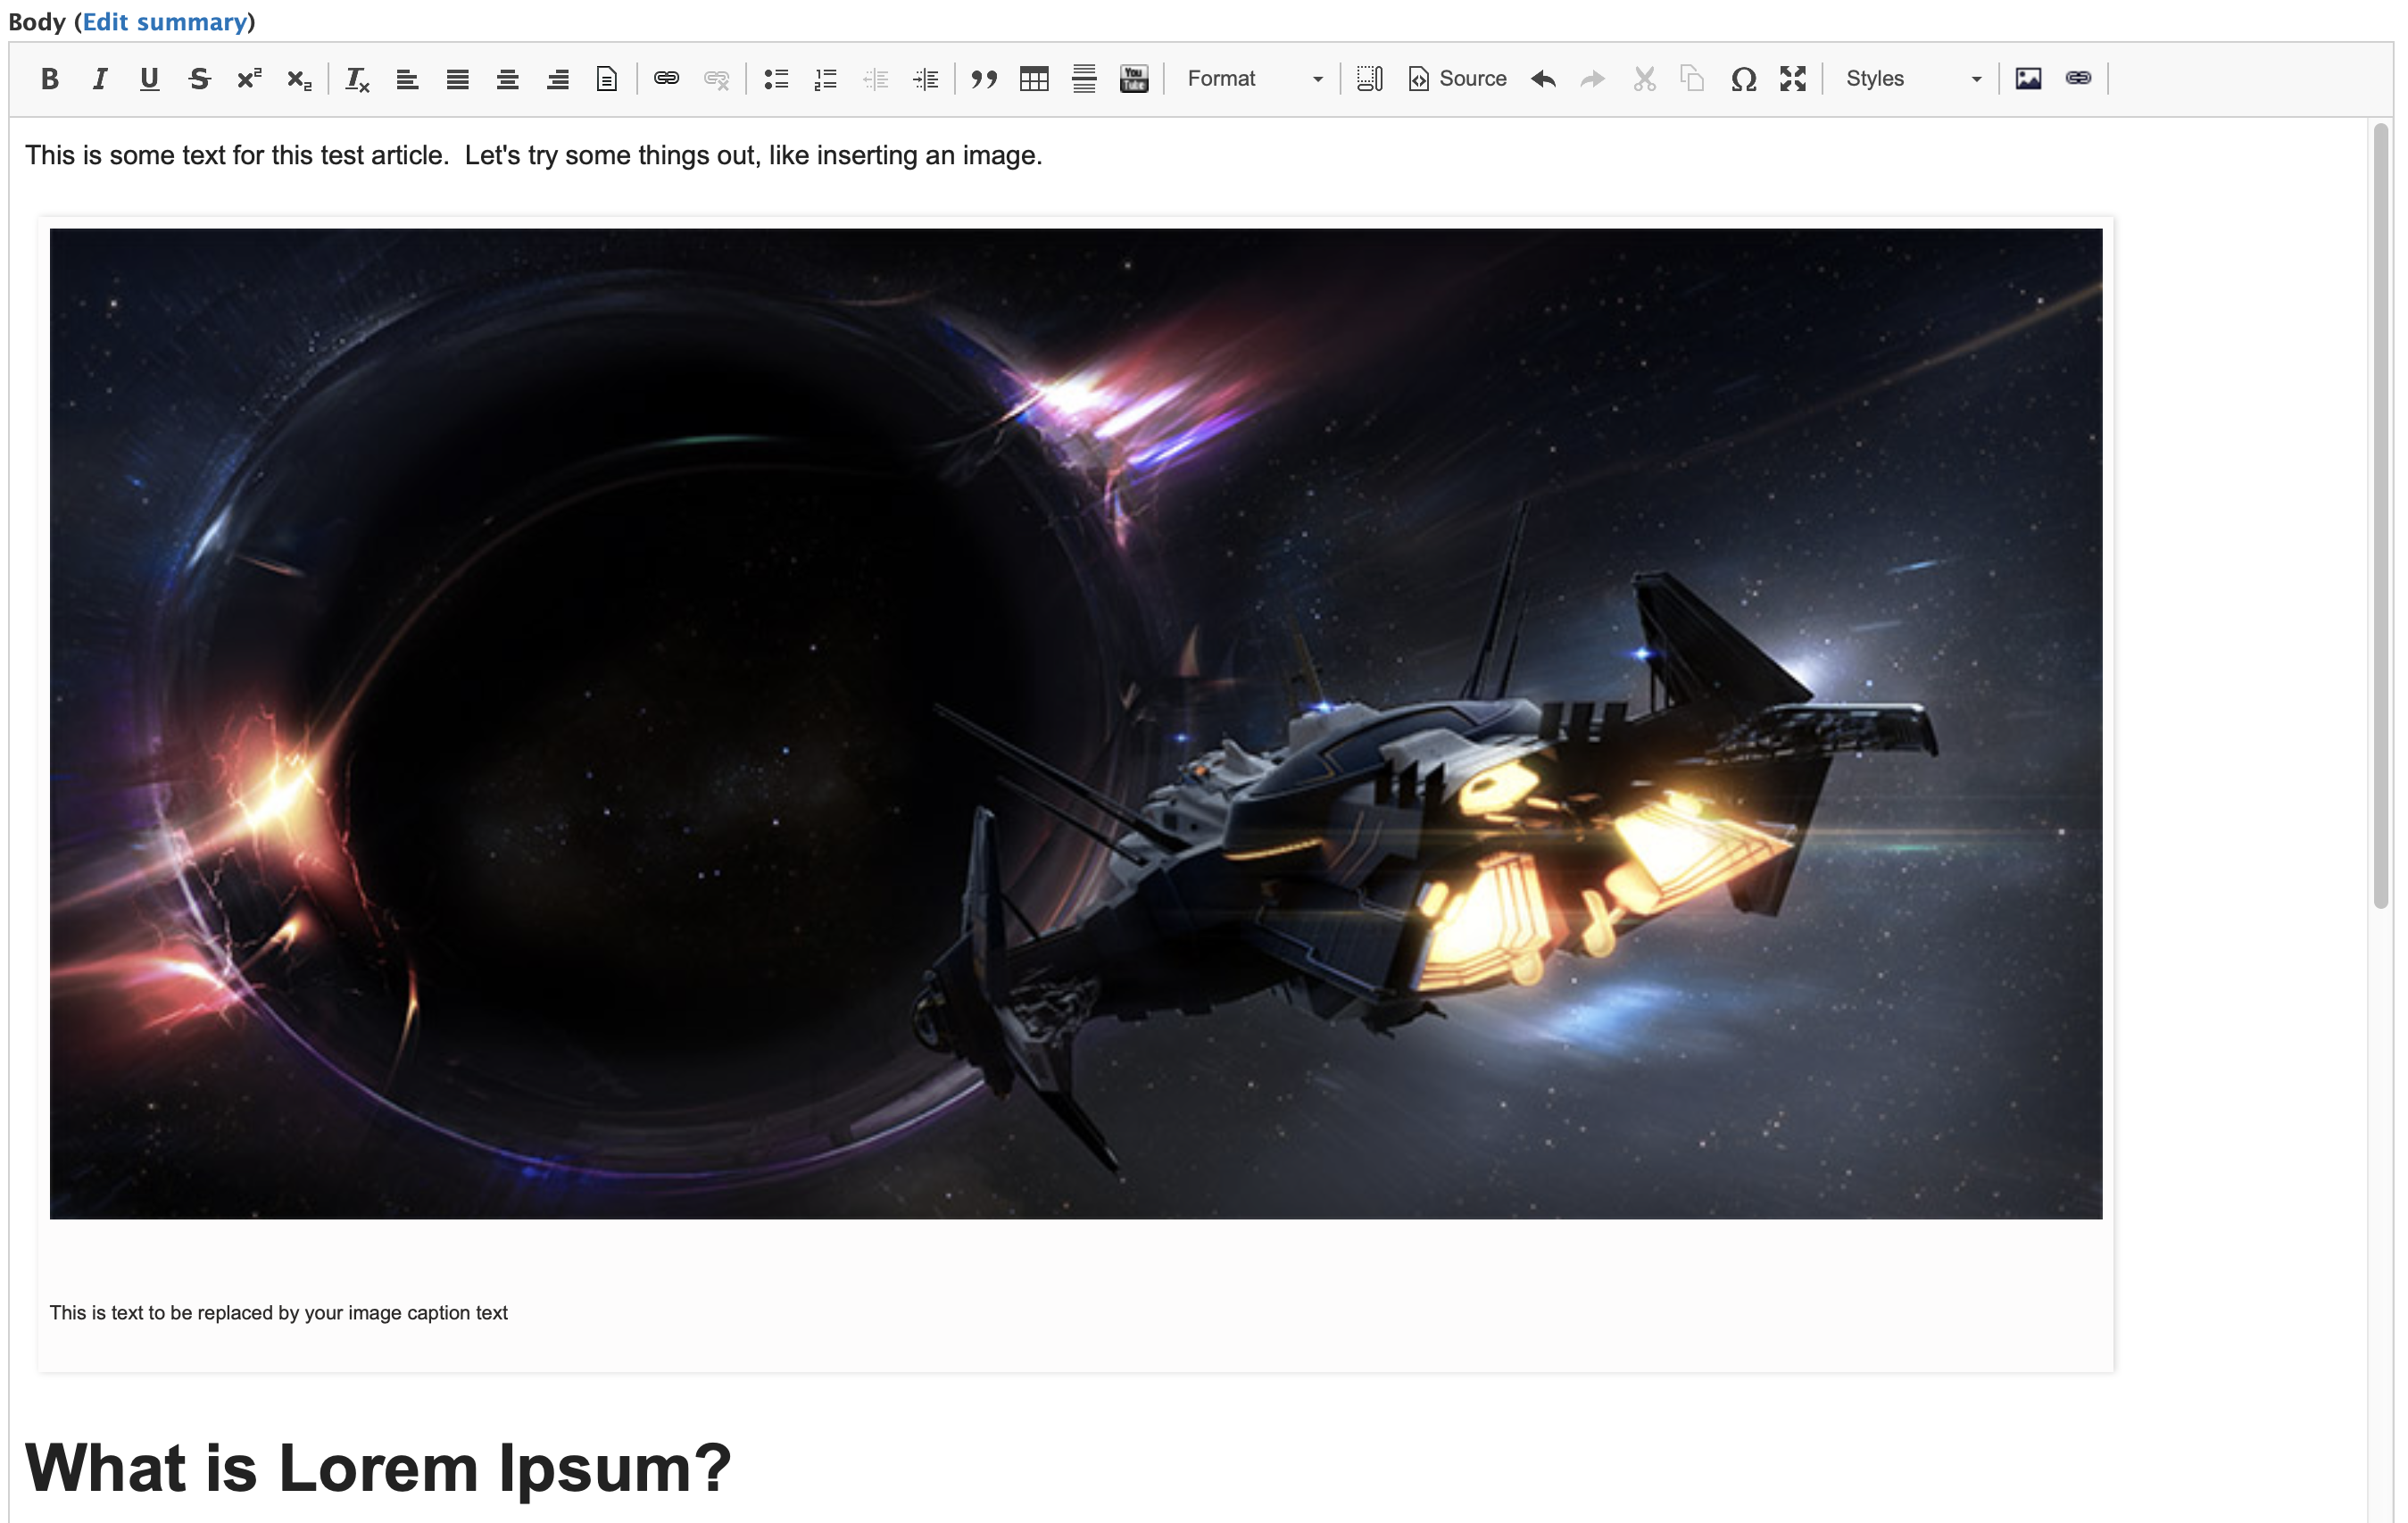
- NOTE: The spacing for the the text and image will appear differently on the live and editing pages.
- Source button:
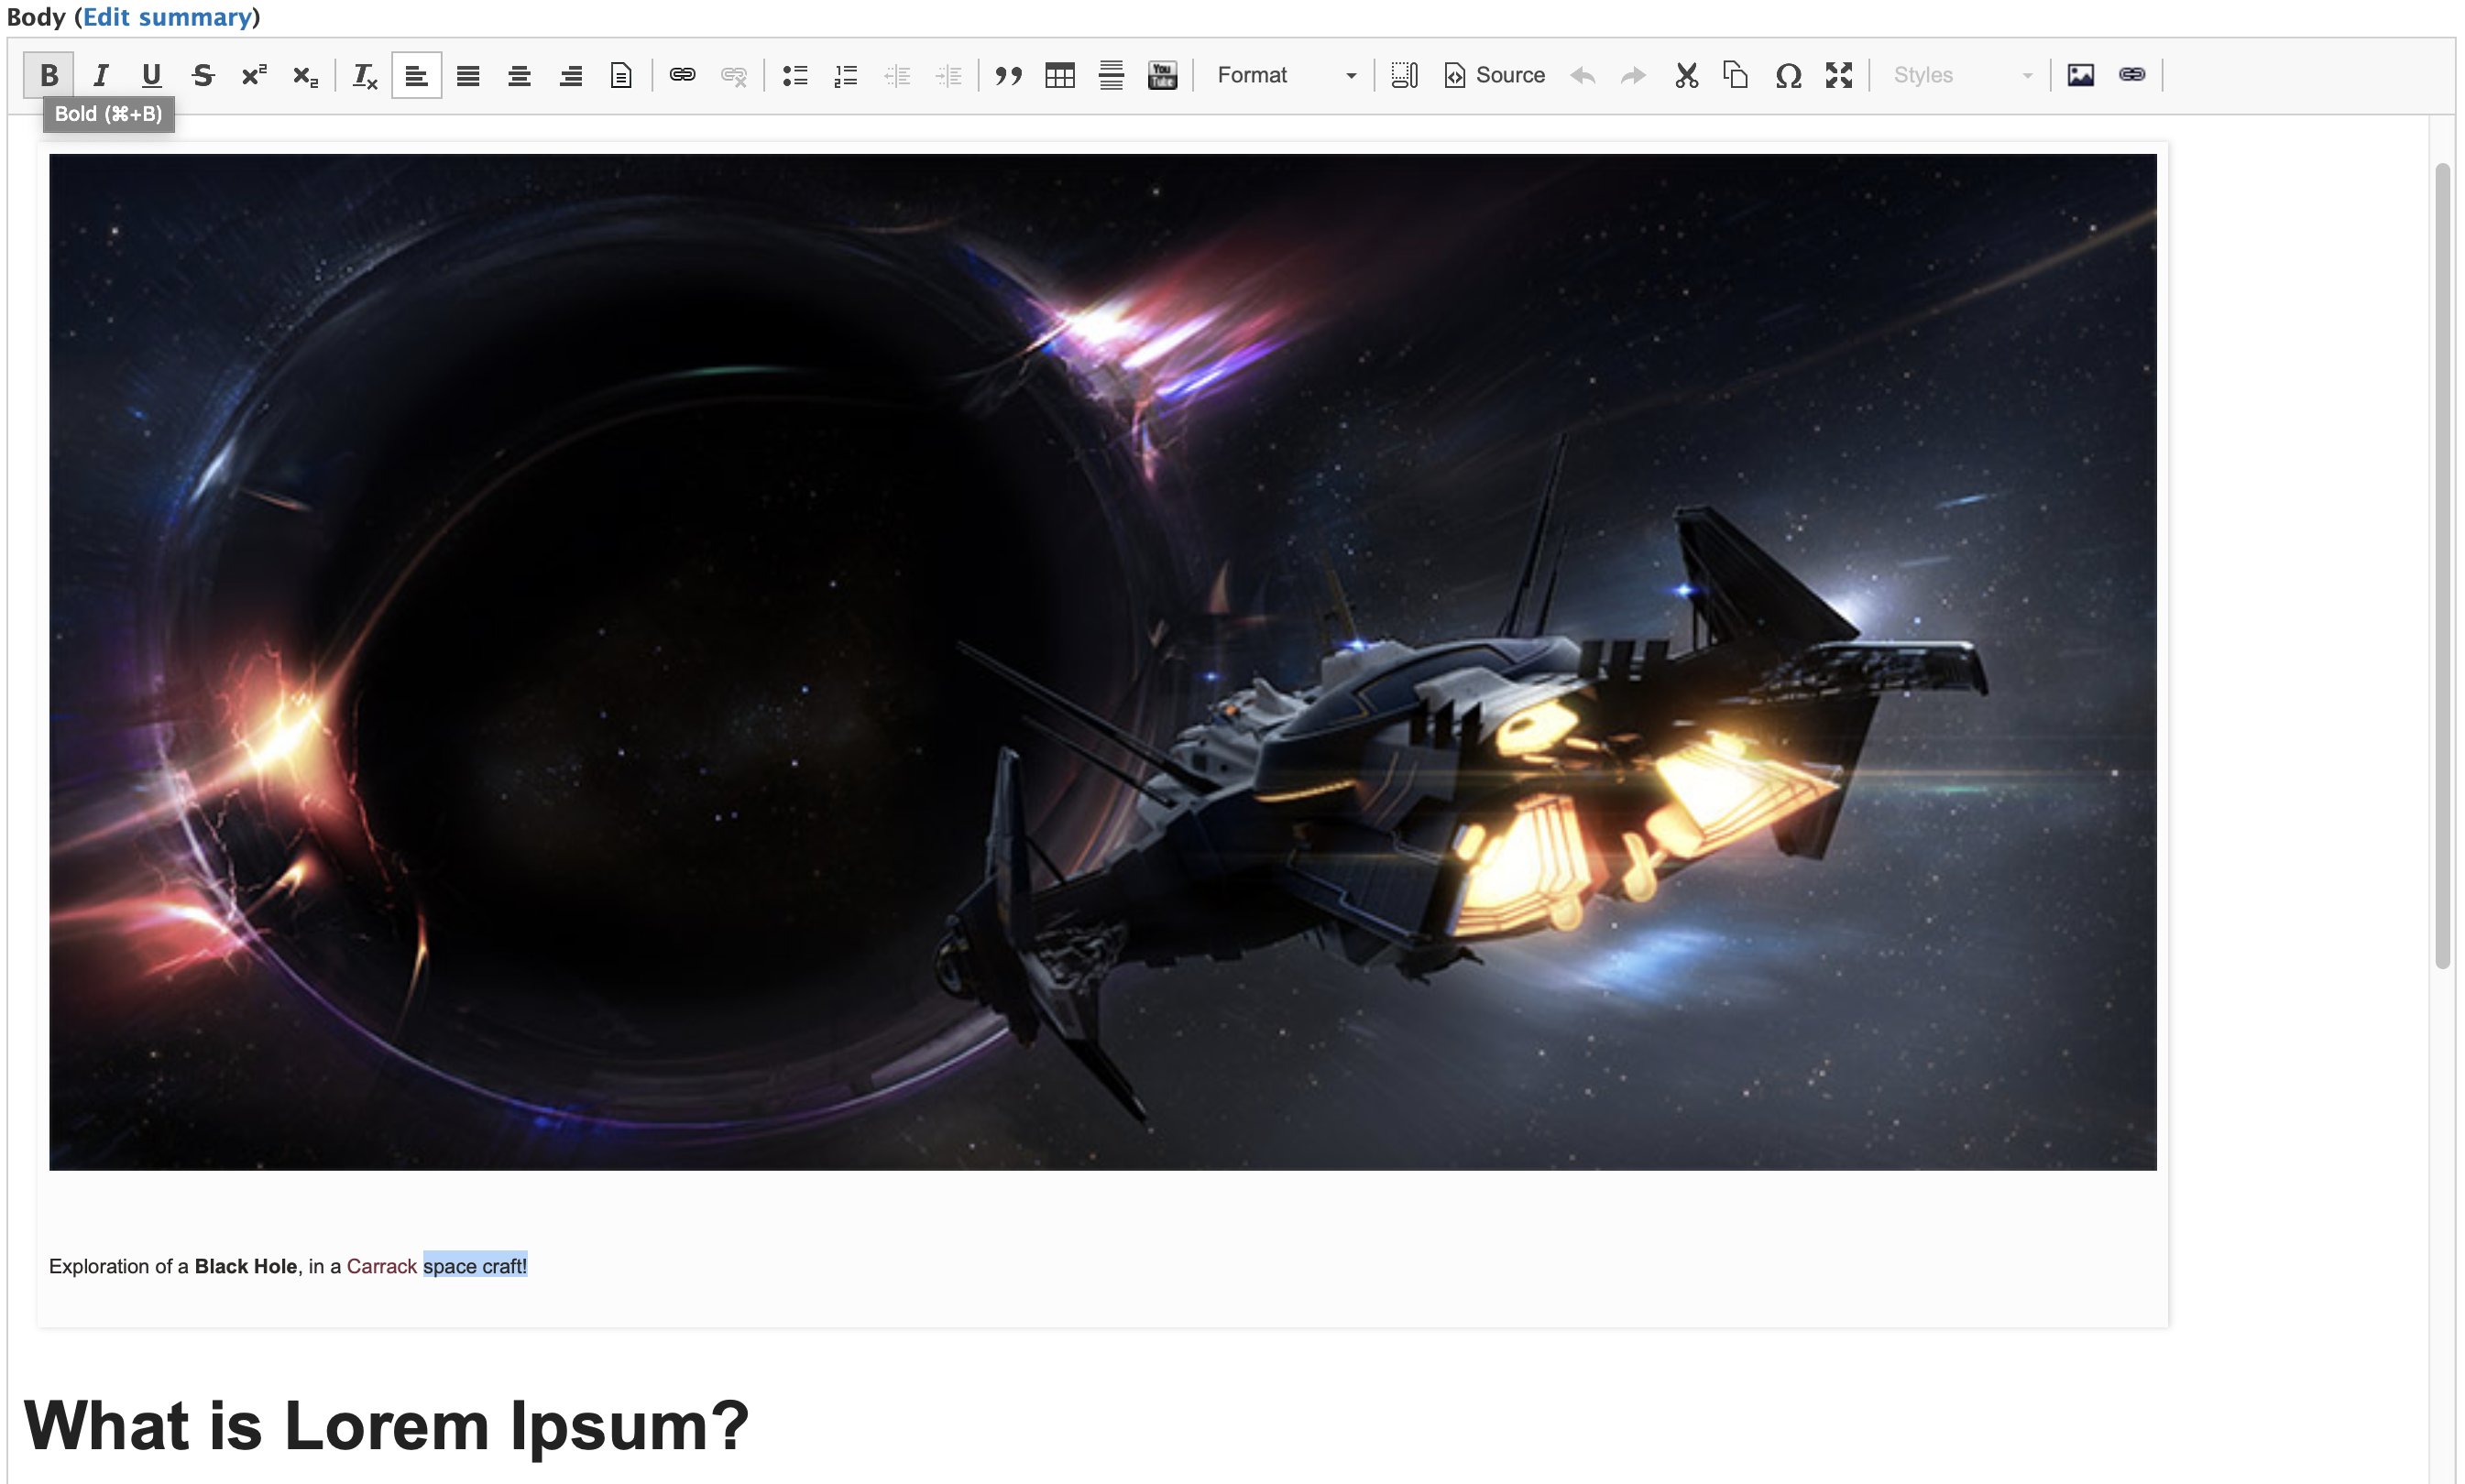
- From here, simply make changes and tweaks to your caption text.
- Here is a screenshot where I added some BOLD text and also a Hyperlink to a webpage using the basic WYSIWYG editor.
- WYSIWYG editor bar:
- Here is a screenshot where I added some BOLD text and also a Hyperlink to a webpage using the basic WYSIWYG editor.
- Finally, scroll down to the bottom of the Editing webpage and select 'Save and Publish'.
Editing <img> to adjust the size of an image:
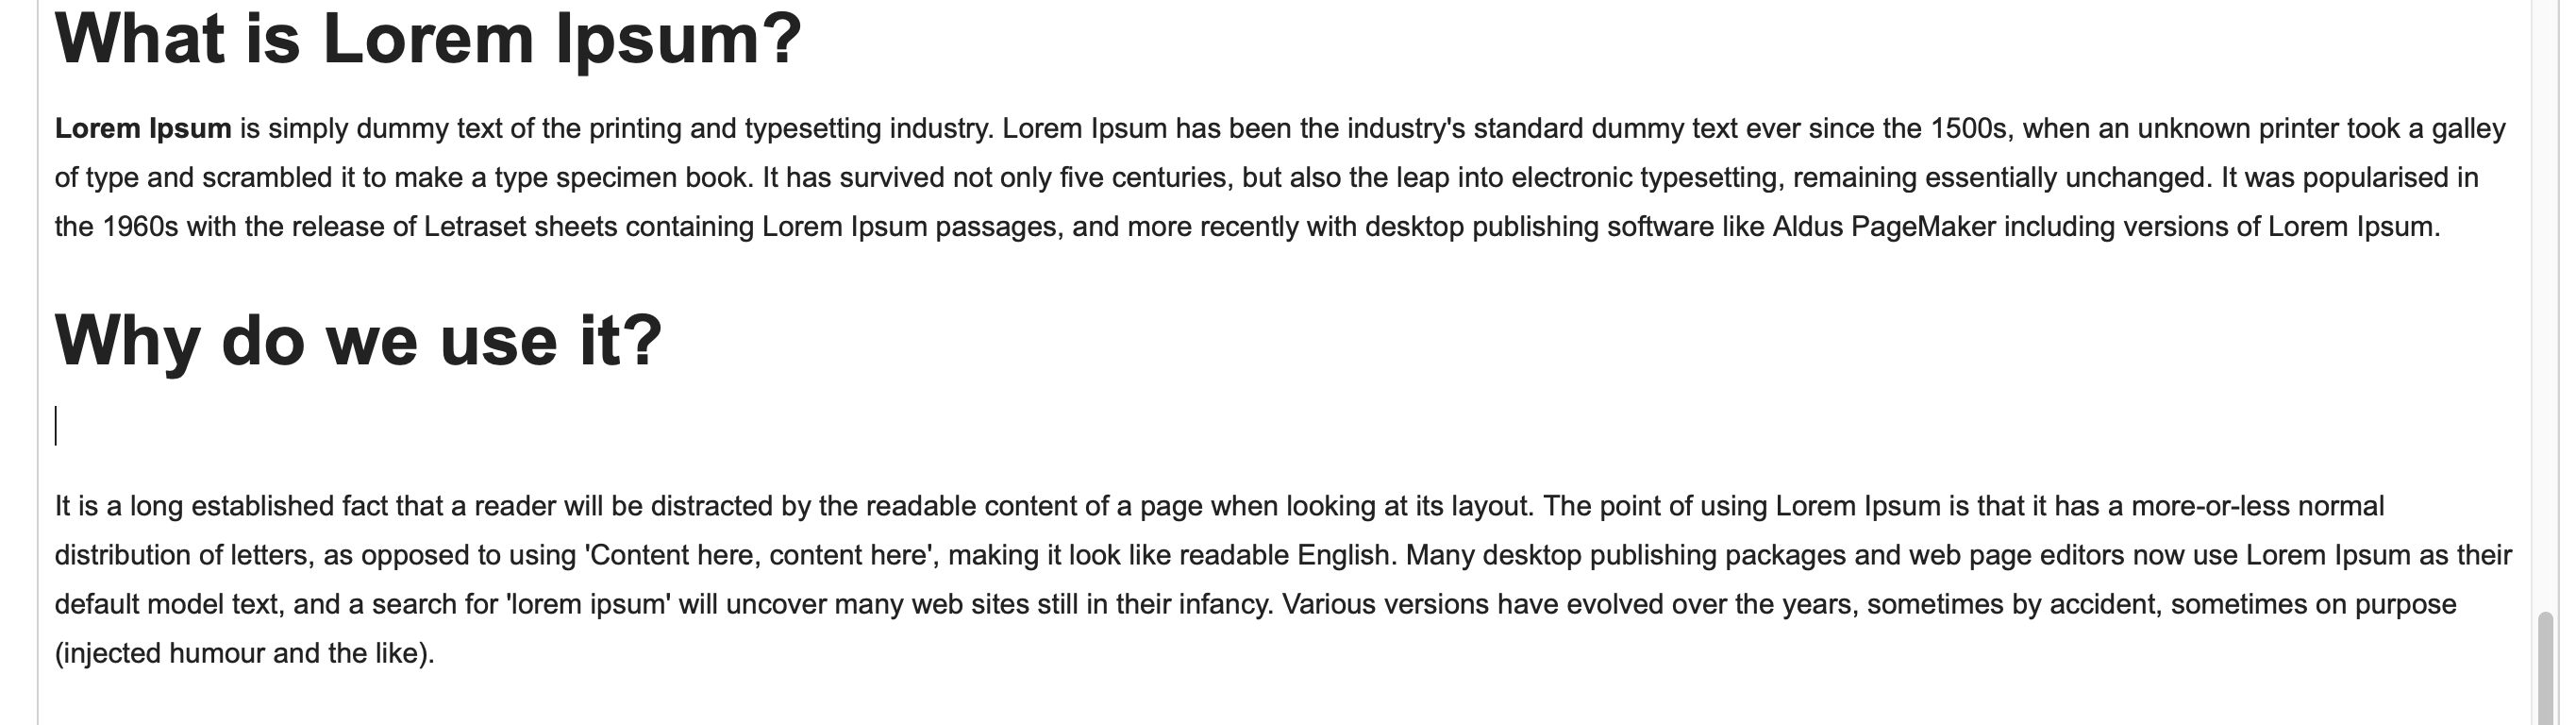
- To start, let's go ahead and insert a new image into the article. I placed this nebula image between the line 'Why do we use it?' and 'It is a long...' paragraph.
- Now, let's go back into SOURCE view and edit two sets of numbers where we're adjust the dimension of the image (i.e. make it smaller).
- NOTE: Here is an article on Image Size and Resolution found on Adobe's site: https://helpx.adobe.com/photoshop/using/image-size-resolution.html
- Locate height="1090" and width="800" (NOTE: the resolution/pixel dimension of your image will most likely contain different values), we are going to change these keeping the same Aspect Ratio.
- Original Code:
<p><img alt="crescent-nebula.jpg" data-entity-type="" data-entity-uuid="" height="1090" src="/sites/g/files/upcbnu321/files/media/images/news/2019-06-04_test-webpage/crescent-nebula.jpg" width="800" /></p>
- Let's change the values to fit the same (or really close to the same) aspect ration. We'll enter the following values:
- height="340"
- width="250"
- New Code:
<p><img alt="crescent-nebula.jpg" data-entity-type="" data-entity-uuid="" height="340" src="/sites/g/files/upcbnu321/files/media/images/news/2019-06-04_test-webpage/crescent-nebula.jpg" width="250" /></p>
- Exit SOURCE view and you should see the changes to the image:
- Finally, scroll down to the bottom of the Editing webpage and select 'Save and Publish'.
Editing <figure> to float image to the 'right' or 'left':
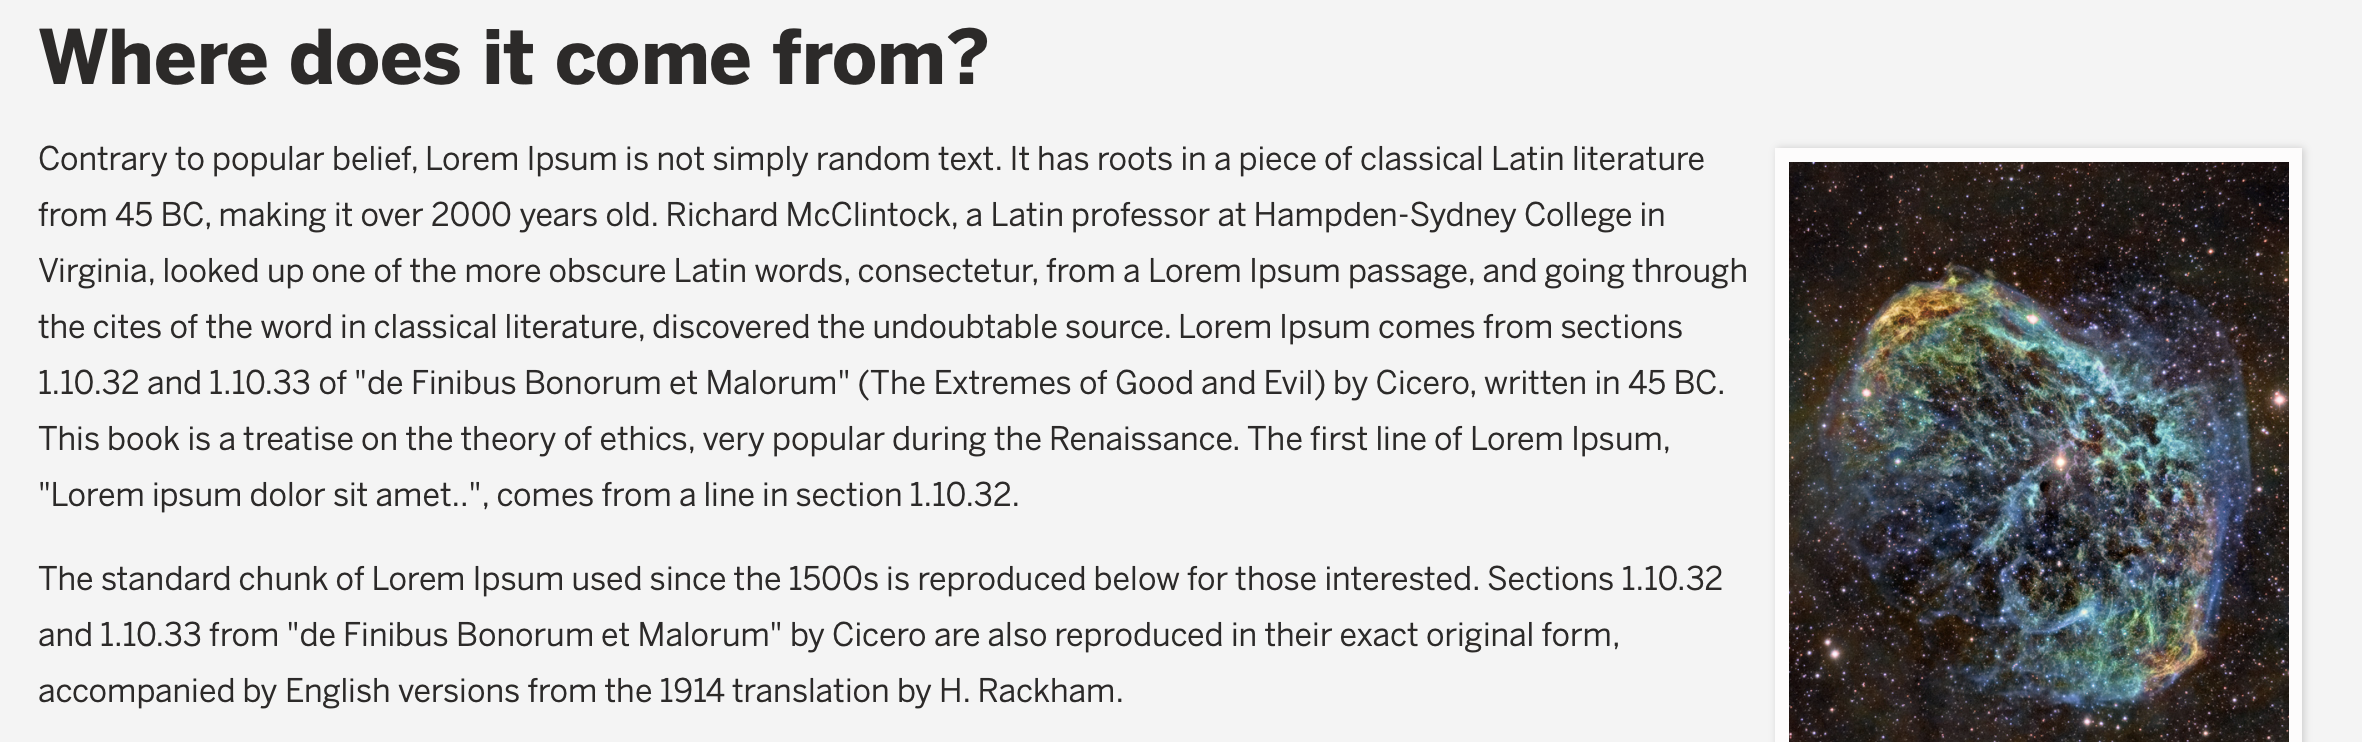
- To start, I want to add an image between the line 'Where does it come from?' and 'Contrary to popular belief, Lorem Ipsum...' paragraph.
- Click the end of 'Where does it come from?' and press 'Enter/Return' to create a new paragraph.
- Enter SOURCE view and locate the markup of the 'new paragraph' that we created... it will look exactly like:
- <p> </p>
- NOTE: ' ' is a character entity used in HTML called 'non-breaking space' (more info here: https://www.w3schools.com/html/html_entities.asp)
- Let's go ahead and copy the code from the 'image resize' demonstration, immediately above, to this paragraph.
- Replace: <p> </p>
- New Code: <p><img alt="crescent-nebula.jpg" data-entity-type="" data-entity-uuid="" height="340" src="/sites/g/files/upcbnu321/files/media/images/news/2019-06-04_test-webpage/crescent-nebula.jpg" width="250" /></p>
- Practice time! Now replace the <p> and </p> markup surrounding this image with the <figure> code at the top of this tutorial.
- New Code: <figure class="image" style="float:center"><img alt="crescent-nebula.jpg" data-entity-type="" data-entity-uuid="" height="340" src="/sites/g/files/upcbnu321/files/media/images/news/2019-06-04_test-webpage/crescent-nebula.jpg" width="250" /></figure>
- Let us 'float' the image to the right. Simply edit <figure> and change the style="float:center" to style="float:right"
- New Code: <figure class="image" style="float:right"><img alt="crescent-nebula.jpg" data-entity-type="" data-entity-uuid="" height="340" src="/sites/g/files/upcbnu321/files/media/images/news/2019-06-04_test-webpage/crescent-nebula.jpg" width="250" /></figure>
- Exit SOURCE view and you should see the changes to the image:
- If you want the image to 'float' left, simply edit <figure> and change the style="float:" to style="float:left"
- New Code: <figure class="image" style="float:left"><img alt="crescent-nebula.jpg" data-entity-type="" data-entity-uuid="" height="340" src="/sites/g/files/upcbnu321/files/media/images/news/2019-06-04_test-webpage/crescent-nebula.jpg" width="250" /></figure>
- NOTE: I just copied and pasted the code for 'float' left from within the SOURCE view - placing it where I wanted between the line 'Where can I get some?' and 'There are many variations of passages of Lorem Ipsum...' paragraph.